
Fun and easy science experiments for kids and adults.
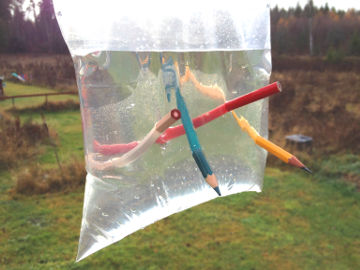
Plastic bag kite
Technology
Build i simple kite from a plastic bag. An experiment about air pressure and how kites fly.
| Gilla: | Dela: | |
Video

Materials
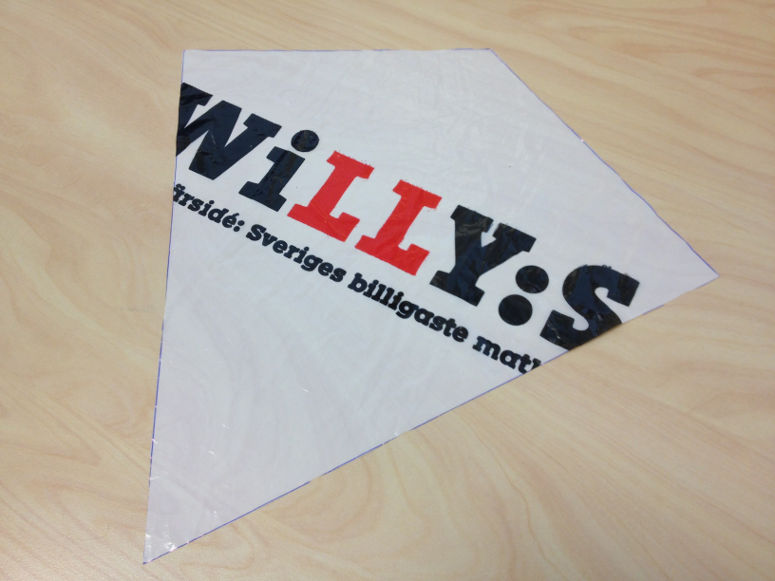
- 1 normal-sized plastic bag from the grocery store, or other piece of plastic that is at least 30 x 30 cm (12 x 12 in)
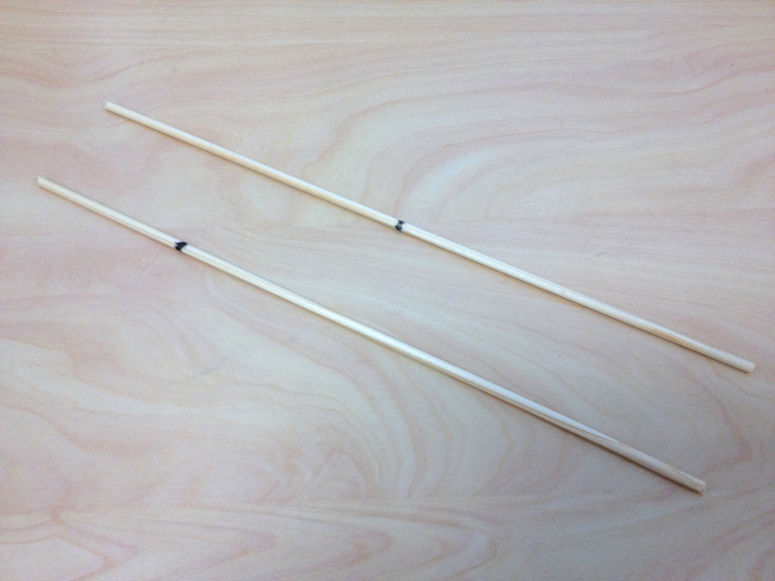
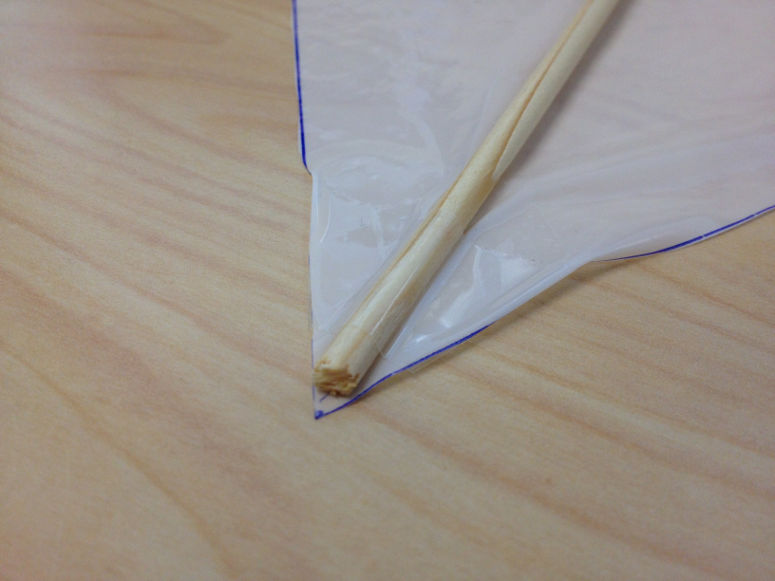
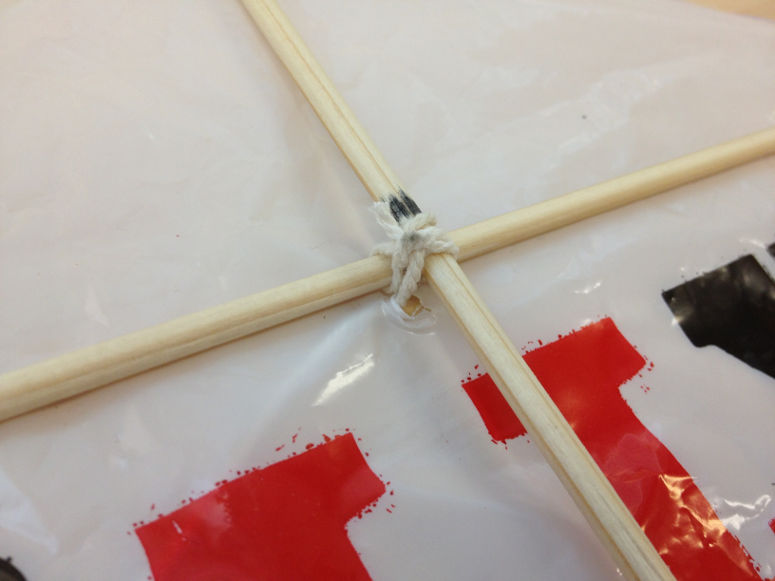
- Two 30 cm (12 in) long, thin, wooden sticks (such as wooden plant sticks, skewers or bamboo sticks)
- 1 ruler
- 1 pen
- 1 pair of scissors
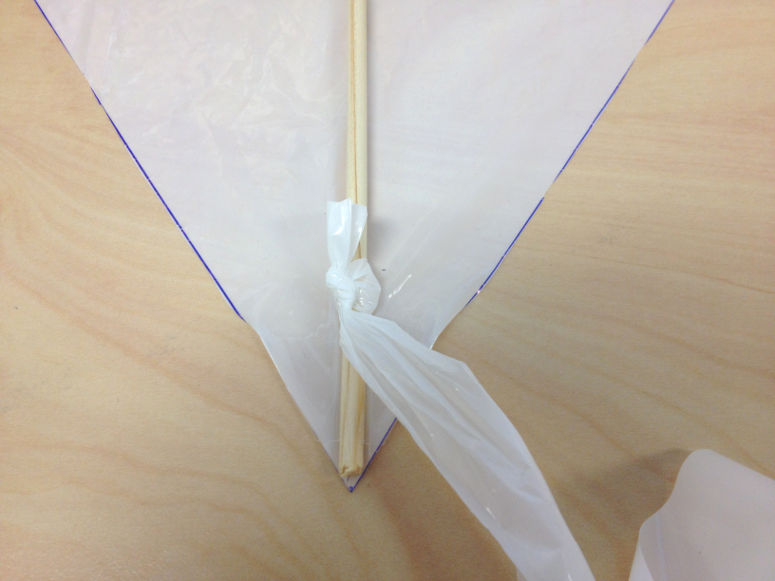
- Tape
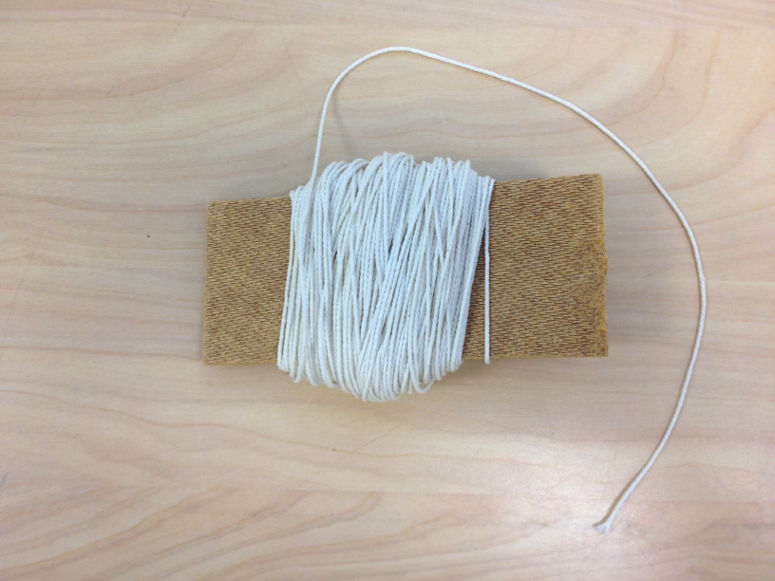
- 20 m (65 ft) of polyester sewing thread (or other lightweight and strong string)
- 1 piece of wood (or other object that you can wind string around)
Environment!
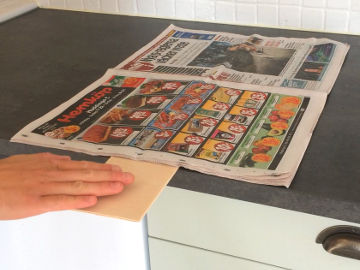
Use a plastic bag that would have been trash otherwise or one that is made of environmentally friendly plastic. Recycle it when done.Step 1

Step 2
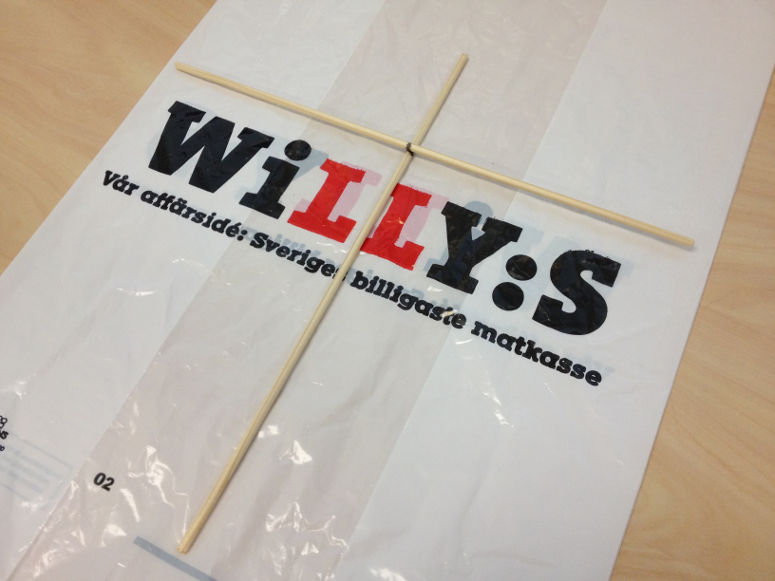
Step 3
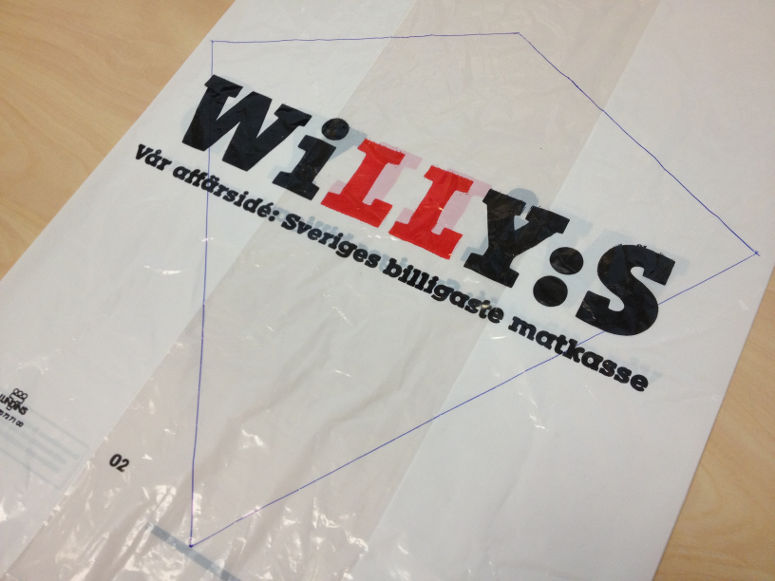
Step 4
Step 5
Step 6
Step 7
Step 8
Step 9
Step 10
Short explanation
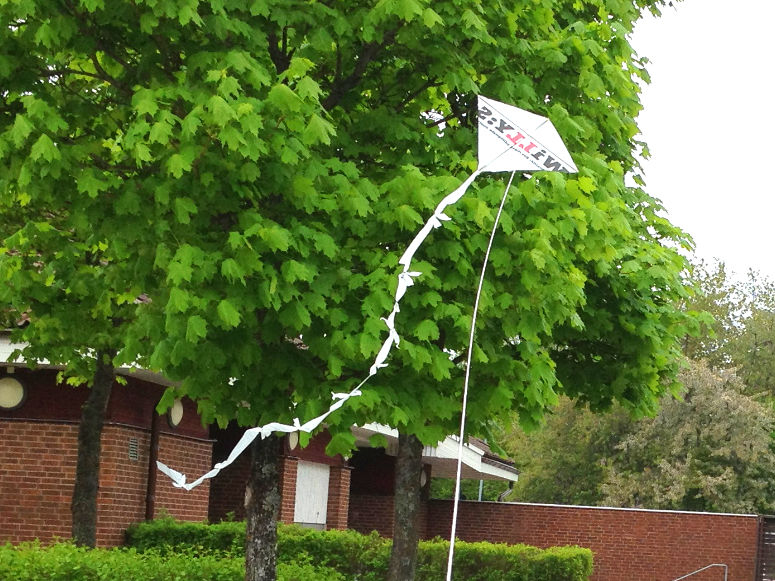
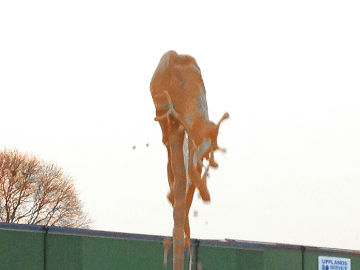
A kite is a sail that is lifted by the wind and is held back with a string. The kite flies by air pushing on the underside of the kite.Long explanation
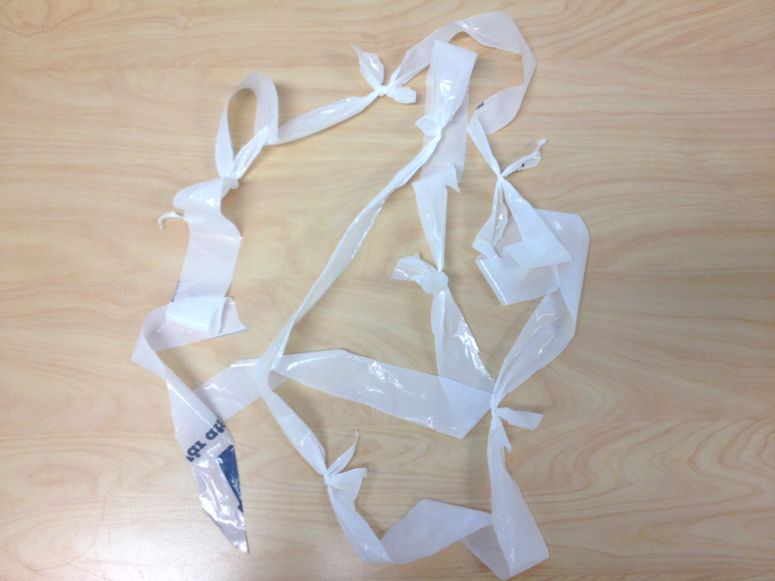
When the wind blows or when you run with the kite, a lot of air is gathered underneath the kite. This means that many air molecules are within a small area and push on each other and what is around them. Therefore, the kite is pushed away by the air. Some lift is also generated by the air above the kite moving faster than the more stagnant air underneath the kite. Air that moves quickly puts less pressure on the surroundings. Therefore, the difference in pressure between above and underneath the kite becomes even greater. This phenomenon, that the faster air moves over an object the less the air pushes on the object (the air pressure is lower), is called Bernouille's principle. Since the kite has a larger area below the attachment point of the string than above, the air pushes more there. This causes the kite to be angled upwards. Then the air pushes the kite backwards/upwards. But since you are holding the kite with a string, the kite doesn't move so much backwards, but instead mostly straight up. However, in your hand you can feel the force that arises when the air actually pushes the kite backwards/upwards. The tail of the kite is not only meant to look good, but has an important function. It stabilizes the kite. When the kite wiggles in one direction, the tail wiggles in the other direction, and counteracts the kite's movement. However, it must be long enough to have any effect, but not too long either, because then it no longer swings rhythmically with the kite. A rule of thumb is that the tail should be seven times as long as the kite. The weight of the tail also plays an important role. The heavier the tail, the more the kite is kept upright, and the better it gets at catching the wind. However, stronger winds are then required for it to rise high, beacuse it's heavier. Therefore, you should not use sticks that are too heavy or a string that is too heavy.Test and improve
You have now built your first prototype. There are probably improvements to be made. In order to keep working on your design, try answering any of the following questions.- What happens if you run faster with the kite?
- What happens to the kite when the wind changes direction?
- What happens if you make a bigger or smaller kite (but with the same proportions)?
- What happens if you change the proportions of the kite, for example, make it wider?
- What happens if you tie something to the tail?
- What happens if you use a lighter string or lighter sticks?
Variations
There are many different ways to build kites. The website My Best Kite contains good step-by-step instructions of different models. An awesome project is to attach a video camera to the kite and film some views from the air. A more environmentally friendly altenative is to use paper instead of a plastic bag. This paper kite doesn't fly quite as well as one made of plastic, but still good enough.| Gilla: | Dela: | |
Similar


Latest


Content of website
© The Experiment Archive. Fun and easy science experiments for kids and adults. In biology, chemistry, physics, earth science, astronomy, technology, fire, air and water. To do in preschool, school, after school and at home. Also science fair projects and a teacher's guide.
To the top
© The Experiment Archive. Fun and easy science experiments for kids and adults. In biology, chemistry, physics, earth science, astronomy, technology, fire, air and water. To do in preschool, school, after school and at home. Also science fair projects and a teacher's guide.
To the top