Fun and easy science experiments for kids and adults.
Special:
Chemistry
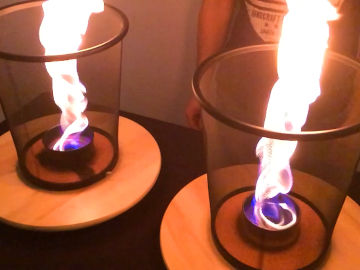
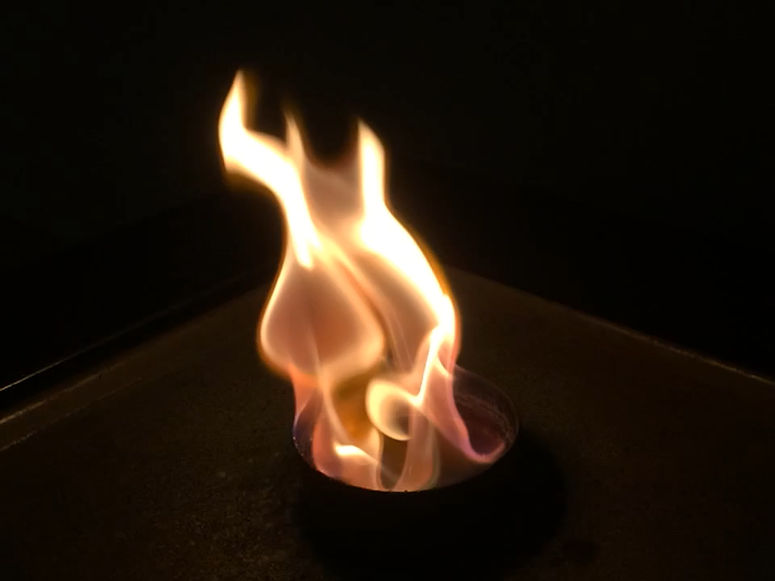
Create a red, yellow, green, orange, pink, cyan and blue flame. This is an experiment about fire, heat and light.
| Gilla: | Dela: | |
Video

Materials
- 1 fire proof container, approximately 10 cm (4 in) in diameter
- 1 sheet pan
- 7 cups, about 100 ml (3 fl oz) each
- 1 small spoon
- 1 pot lid on a stick (for placing on top of the container to smother the fire)
- 1 lighter with a long neck
- Ethanol fuel
- Substances for colored fire:
- Sodium chloride (common table salt), NaCl
- Copper(II)chloride, CuCl2
- Copper sulfate, CuSO4
- Strontium chloride, SrCl2
- Lithium chloride, LiCl
- Iron filings
- Safety equipment: 1 fire extinguisher, 1 bucket of water, 1 pair of safety goggles, 1 pair of protective gloves
Warning!
These risks exist:- Something may catch fire.
- Someone may burn themselves.
- Inhalation, skin contact, eye contact or ingestion of ethanol, copper(II)chloride, copper sulfate, strontium chloride, lithium chloride or iron filings.
- Do the demonstration in the company of an adult with experience of fire.
- Wear safety goggles och protective gloves.
- Have a fire extinguisher ready.
- Have a bucket of water ready.
- Do the demonstration in a place with good ventilation or in a fume hood.
- When pouring powder into the fire, hold the spoon at a safe distance above the fire.
- Always keep a safe distance to the fire. Be prepared for the flame to grow or flutter.
- Do not do the demonstration outdoors, as the slightest wind can cause the flame to reach your face.
- Practice smothering the fire using the the pot lid.
- Practice what to do if something catches fire or if someone burn themselves.
- You will use several chemicals in this demonstration, all with different properties. Short tips in this warning box can not replace reading the safety data sheets for each one of them. So read them! You can search for satety data sheets here.
Environment!
Nothing from this demonstration should be thrown in the trash or flushed down the drain! When you have finished the demonstration, scrape all the burned ash of the sheet pan and put in a jar, write on the jar exactly which chemicals you used and that they have burned, and leave the jar to where hazardous waste is handled in your community.Step 1

Step 2


Step 3


Step 4


Step 5


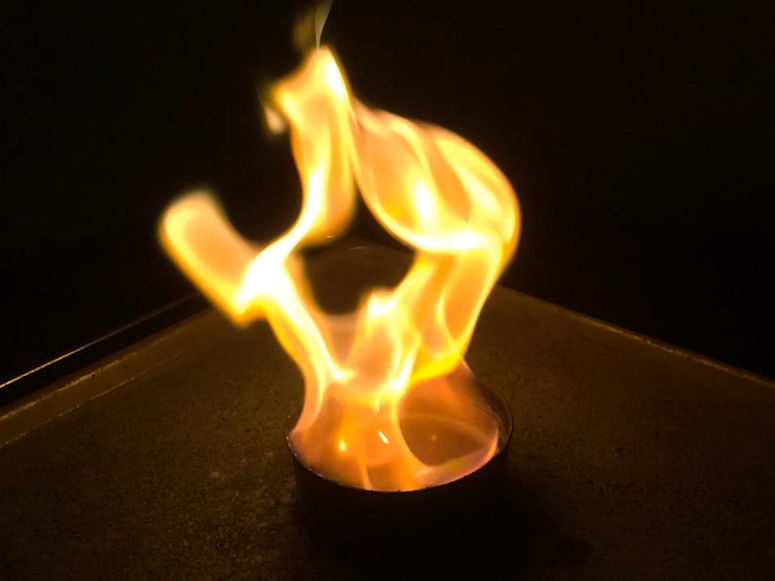

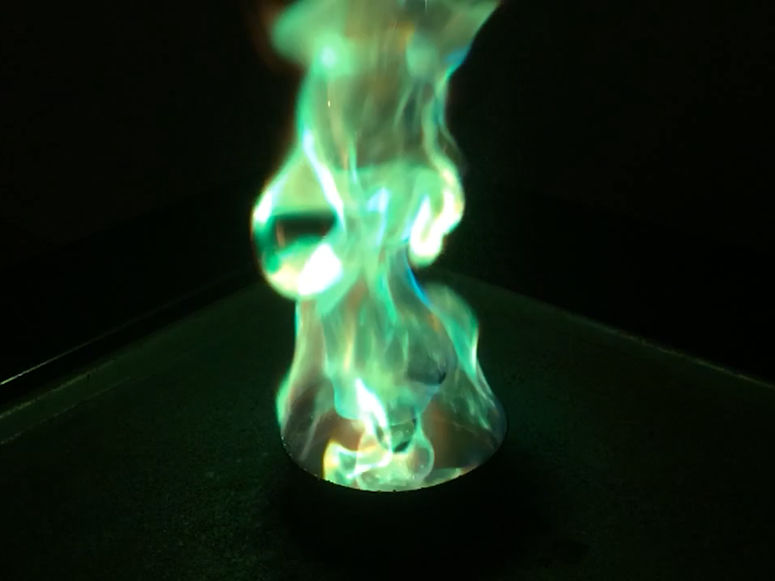

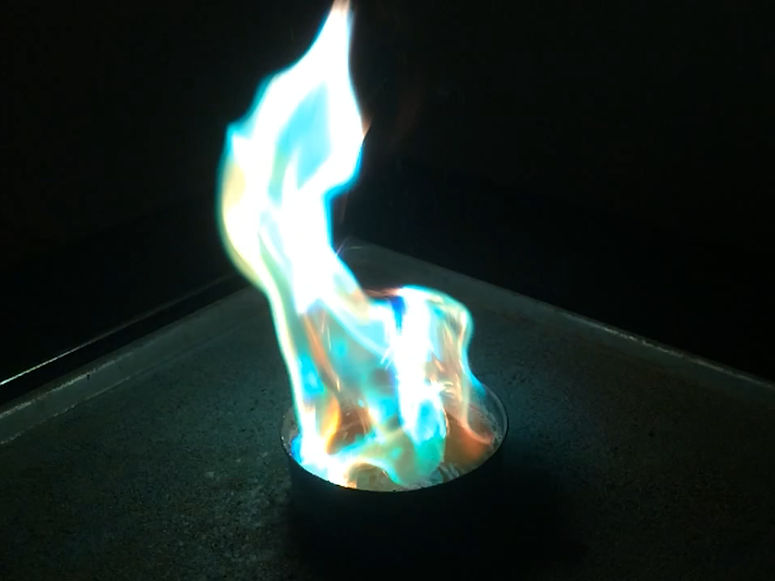

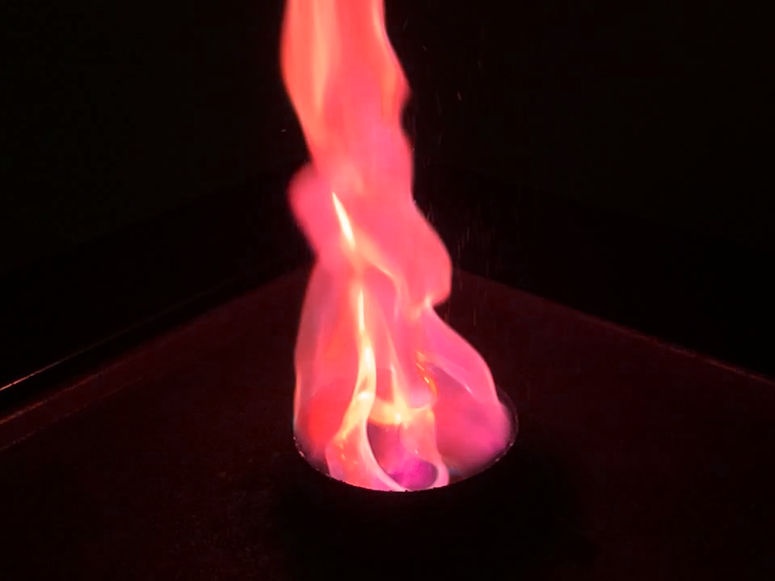

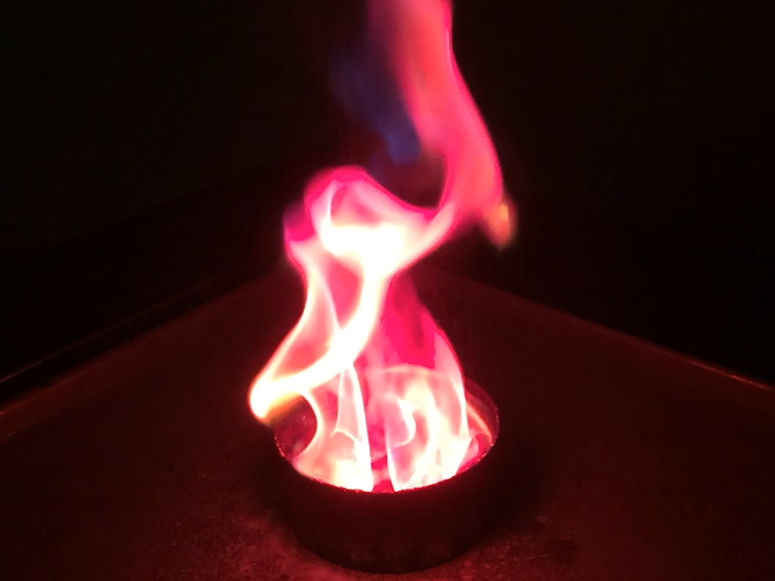

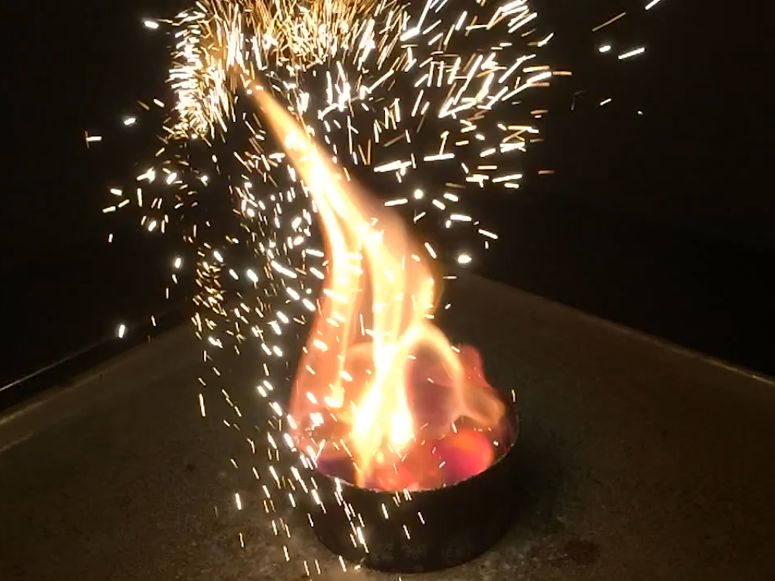


Step 6


Short explanation
When the chemical substances heat up in the flame, they begin to emit light. It's their atoms that do it. When they heat up, they get excess energy - energy that they quickly get rid of again by radiating light. Different atoms emit light in different colors, and in this way you can use a "flame test" to figure out which atoms a chemical substance consists of.Long explanation
The color of a flame depends mainly on two things; thermal radiation and excitation radiation from the atoms present in the flame. The atoms can be there one by one, or sit together as in molecules. They can end up in the flame because they are in the air from the beginning, or they have evaporated from the burning fuel, or as in this case - that we poured them over the flame. Heat radiation is the electromagnetic radiation that a chemical substance emits due to its temperature. This electromagnetic radiation will consist of invisible radiation such as infrared radiation and UV radiation, but also of visible light in different colors. The mixture of visible light results in a single color, and that is the heat radiation you see. Sometimes the term black-body radiation is used instead of heat radiation. This is because the heat radiation only depends on the temperature of the chemical substance, not because the chemical substance reflects any radiation from the environment - just like a perfect black body in physics. Heat radiation occurs when the atoms that make up a body move in relation to each other. Because the atoms contain charged particles - protons and electrons - it creates charge differences which results in an electromagnetic wave moving away from the body. Excitation radiation is also electromagnetic radiation, and can be visible light. All chemical substances are made up of atoms and when an atom gets extra energy, for example by heating it, its electrons can get excited. This means that they "jump" up a level and end up further out of the atomic nucleus than normal. However, this is a very unstable state for an electron, so it will soon "fall" down again. When it falls down again, it emits the excess energy it received when it was excited in the first place. This energy comes in the form of electromagnetic radiation, which can be visible light in a certain color. An atom of a certain element has only a certain number of definite variants of excitation radiation. This is because the atom only has a number of specific places where electrons can be. The electrons can only move between these places. When a chemical substance heats up, these electron jumps will start and this mixture of excitation radiation will start to shine. The mixture of visible light results in a single color, and that is the excitation radiation you see. In this demonstration, you test which color that arises when you heat up different metal atoms - copper atoms (in two different oxidation states), lithium atoms and strontium atoms. The color you see depends almost entirely on excitation radiation, and not so much on heat radiation. This is usually the case when a chemical substance is completely decomposed into atoms, which these substances become. This demonstration is like a flame test, which is a chemical analysis method to find out which atoms are present in a chemical substance. When doing a flame test, you make sure the chemical substance decomposes into atoms, and then you heat the atoms in a hot fire and see what color arise. You may have heard that the color of a flame only depends on how warm the flame is, i.e. that the visible light you see is only heat radiation. This is pretty accurate when, for example, talking about the flame from a candle. That light from the flame is mainly due to heat radiation from molecules in motion inside the flame. Molecules are atoms that sit together, and then the atoms tend to absorb energy in the form of starting to move more, instead of in the form of excited electrons. Examples of when these substances are used to create colored fire are in fireworks, film shootings and magic shows.Experiment
You can turn this demonstration into an experiment. This will make it a better science project. To do that, try answering one of the following questions. The answer to the question will be your hypothesis. Then test the hypothesis by doing the experiment.- What happens if you mix two substances?
- What happens if you put a lump of a chemical substance in the ethanol, instead of sprinkling it as rain?
| Gilla: | Dela: | |
Similar
Latest
Content of website
© The Experiment Archive. Fun and easy science experiments for kids and adults. In biology, chemistry, physics, earth science, astronomy, technology, fire, air and water. To do in preschool, school, after school and at home. Also science fair projects and a teacher's guide.
To the top
© The Experiment Archive. Fun and easy science experiments for kids and adults. In biology, chemistry, physics, earth science, astronomy, technology, fire, air and water. To do in preschool, school, after school and at home. Also science fair projects and a teacher's guide.
To the top

