
Fun and easy science experiments for kids and adults.
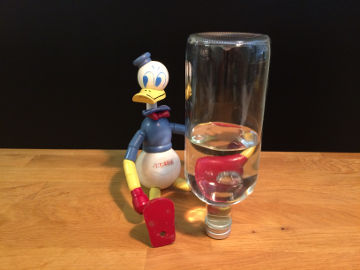
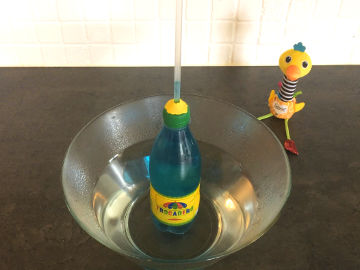
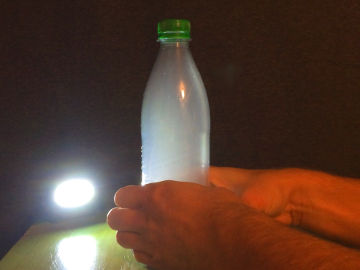
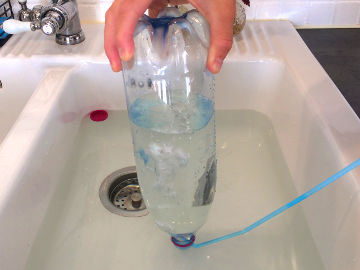
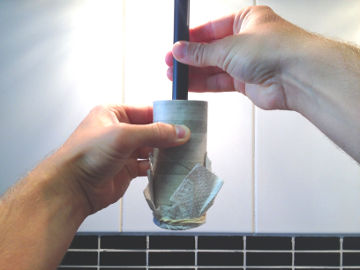
Inexhaustible bottle
Physics
The bottle that never runs out of water. An experiment about air pressure and gravity.
| Gilla: | Dela: | |
Video

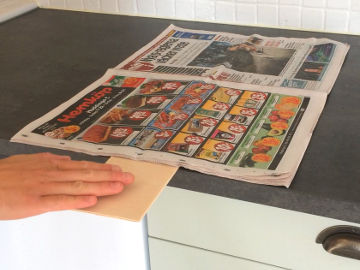
Materials
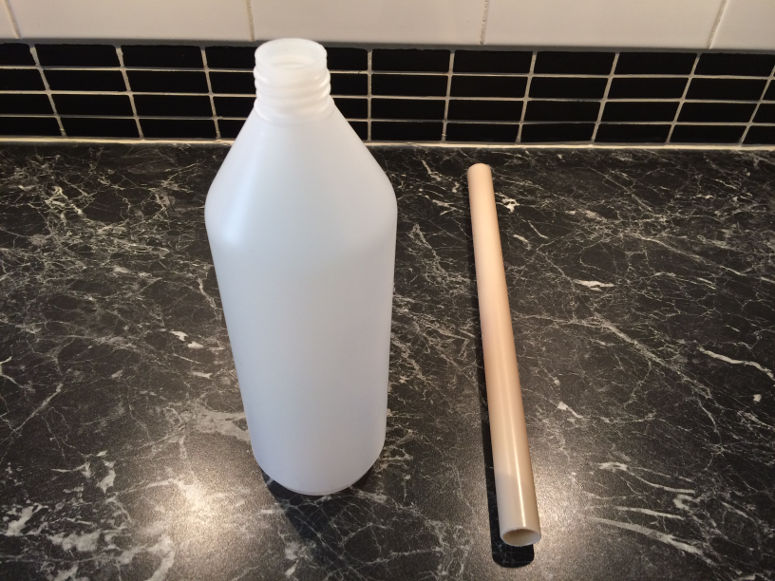
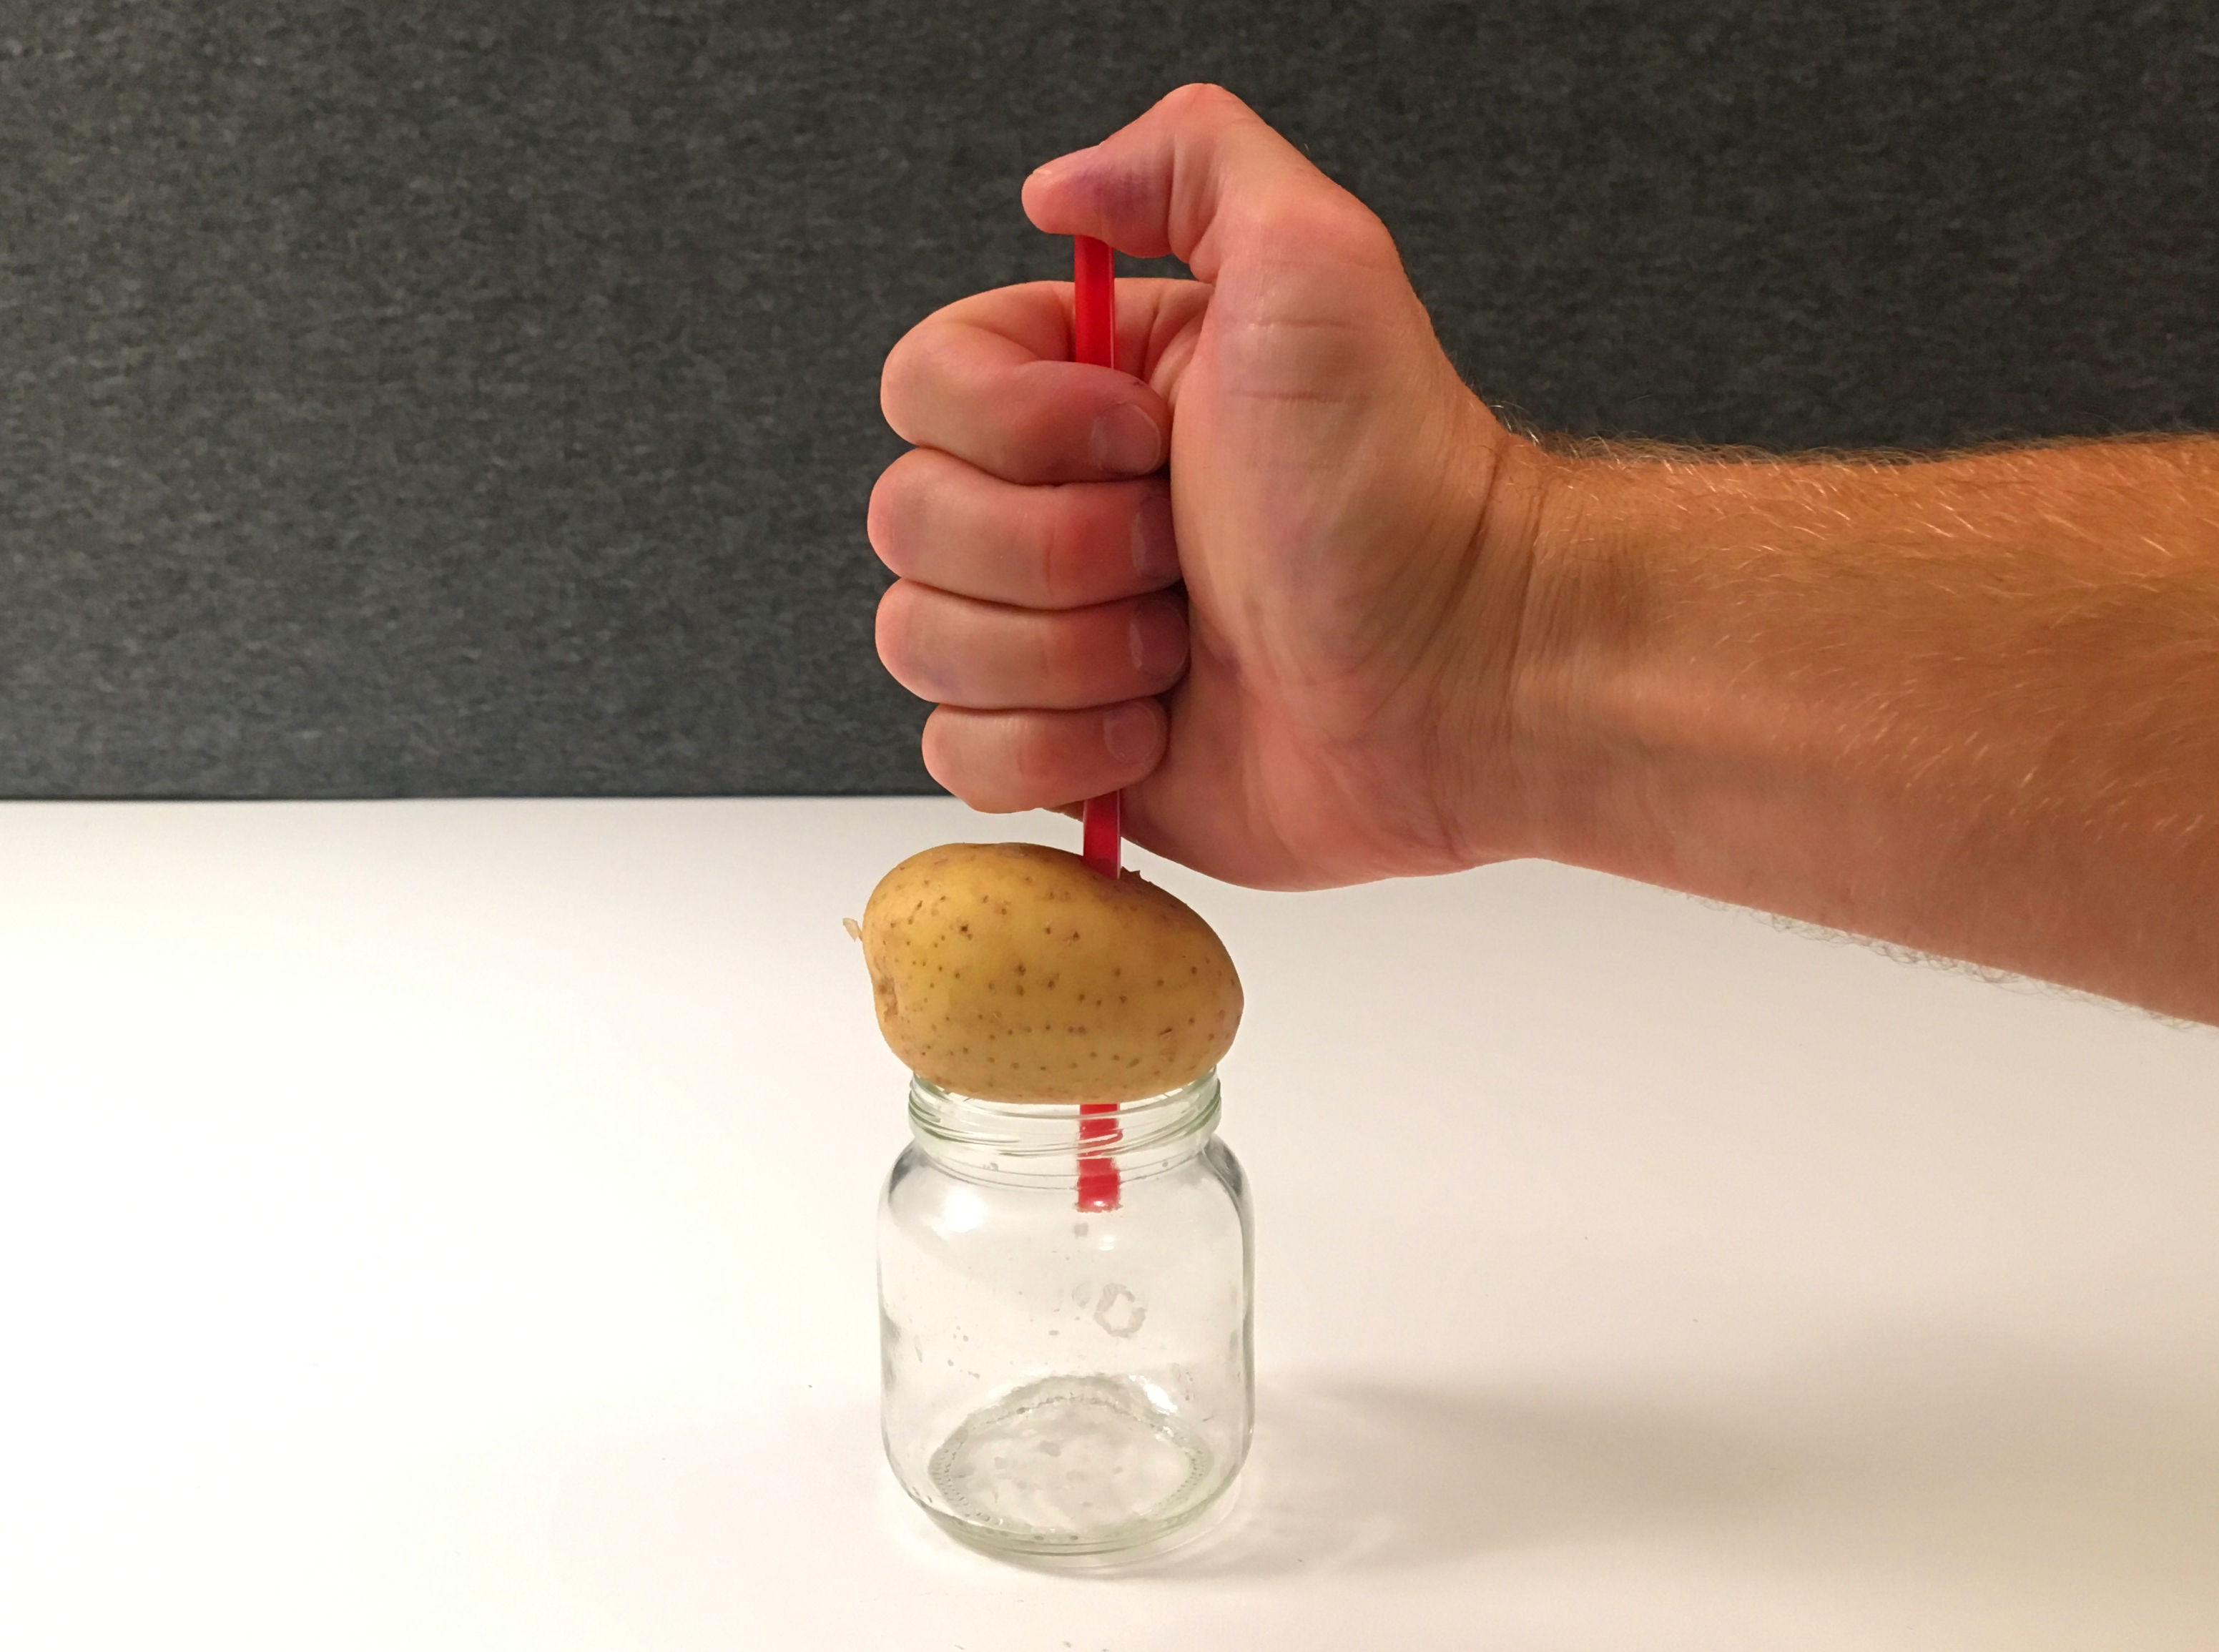
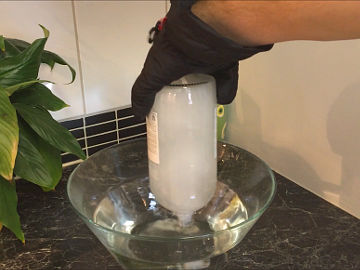
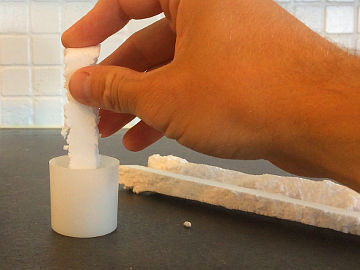
- 1 plastic bottle, not transparent
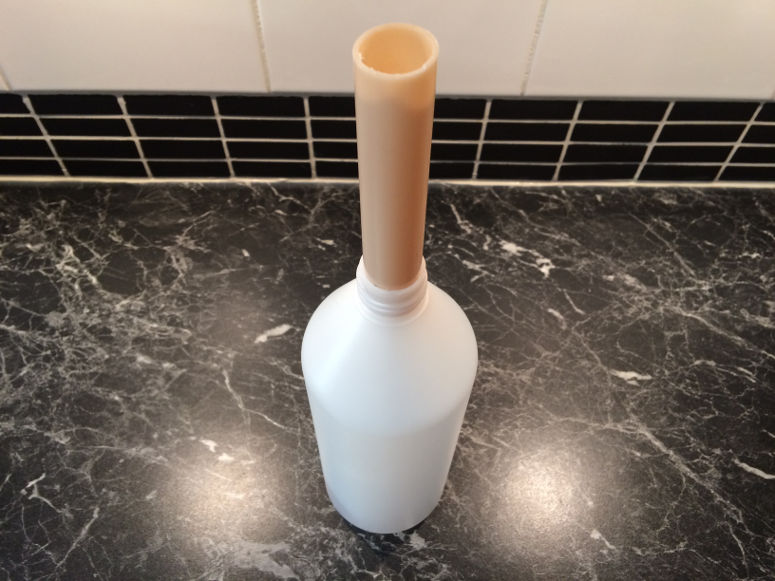
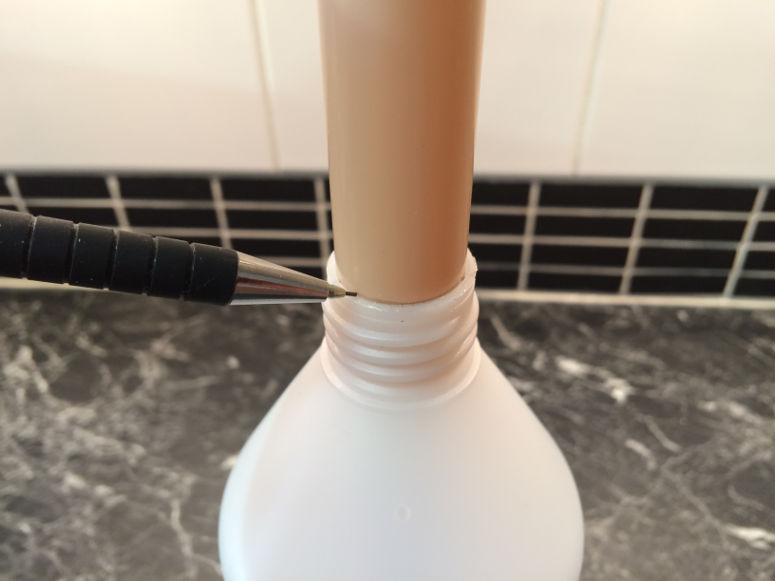
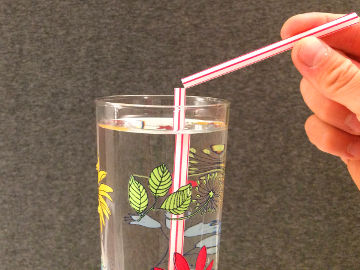
- 1 pipe - This pipe is the trickiest material to obtain for this demonstration. The pipe must meet two requirements: (1) it must be at least 2-3 cm (1 inch) longer than the bottle is tall and (2) it must be thick enough that it just doesn't fit through the opening of the bottle. A pipe with an outside diameter of 22 mm (7/8 in), which is one of the standard dimensions of pipe for plumbing, is perfect for a standard soda bottle opening.
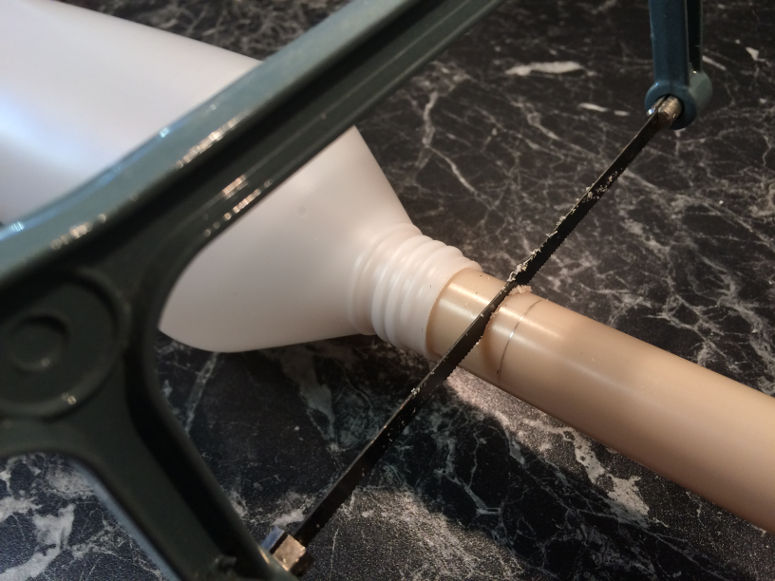
- 1 saw (which can saw off your pipe)
- 1 screwdriver
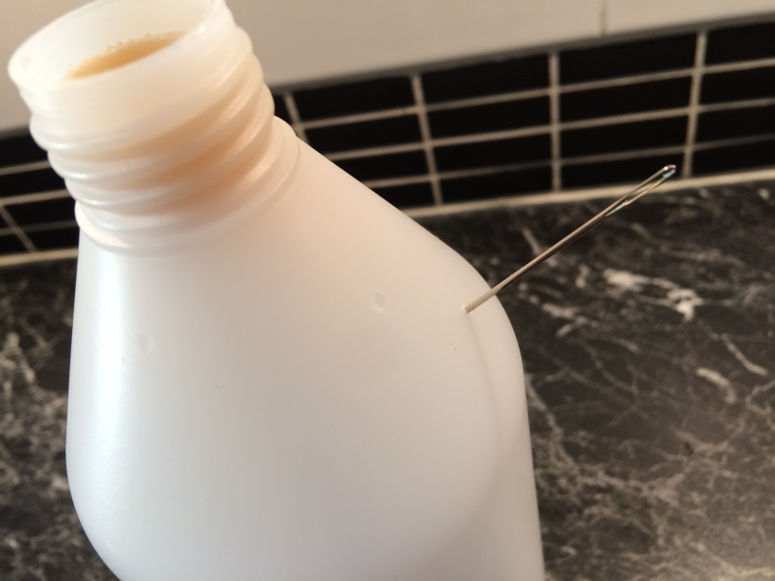
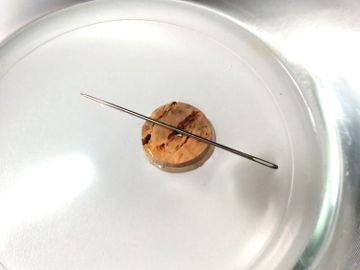
- 1 needle (or something else to make a hole in the bottle with)
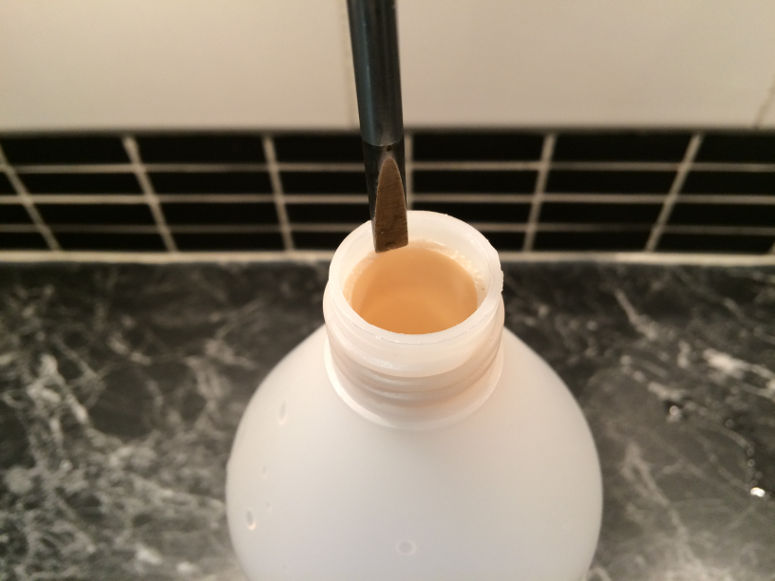
- 1 pen
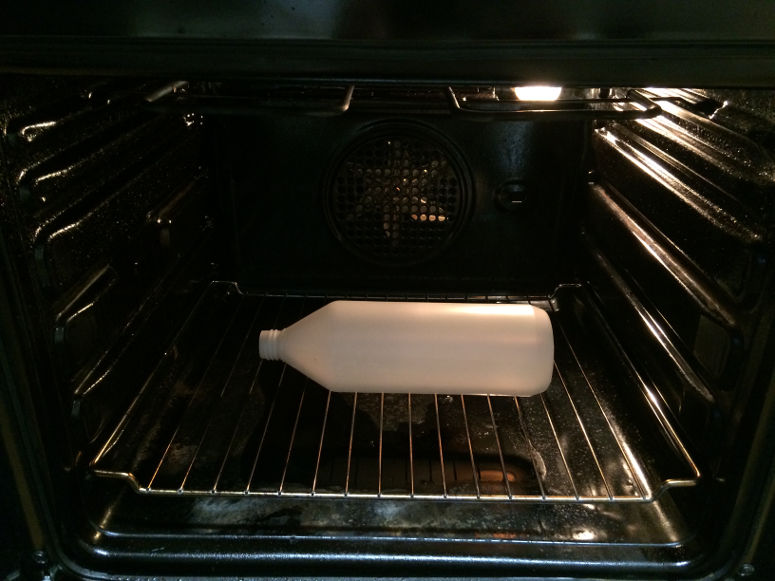
- Oven
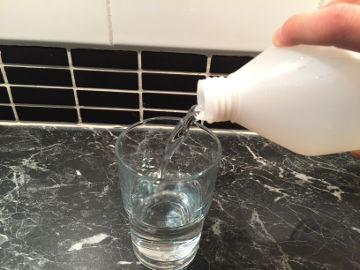
- Water
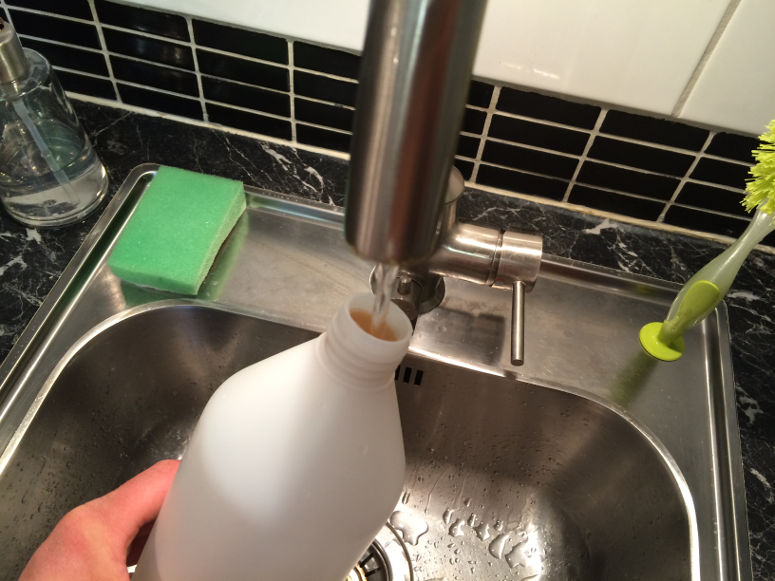
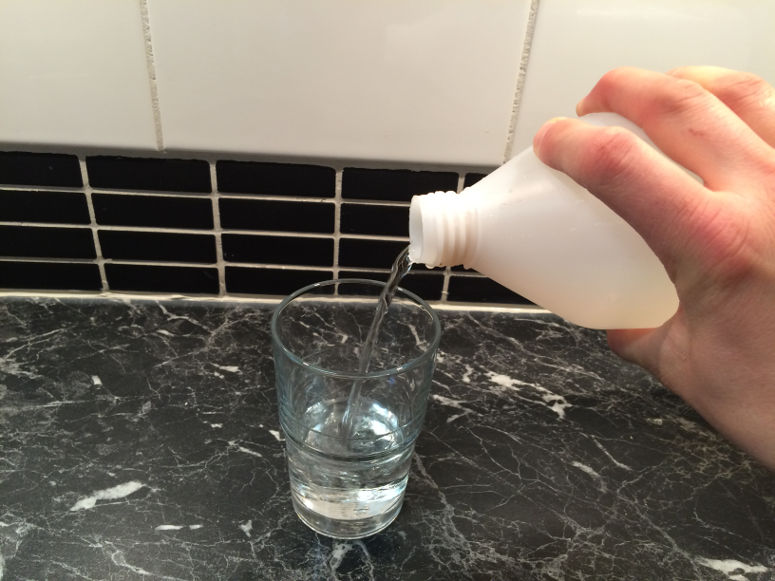
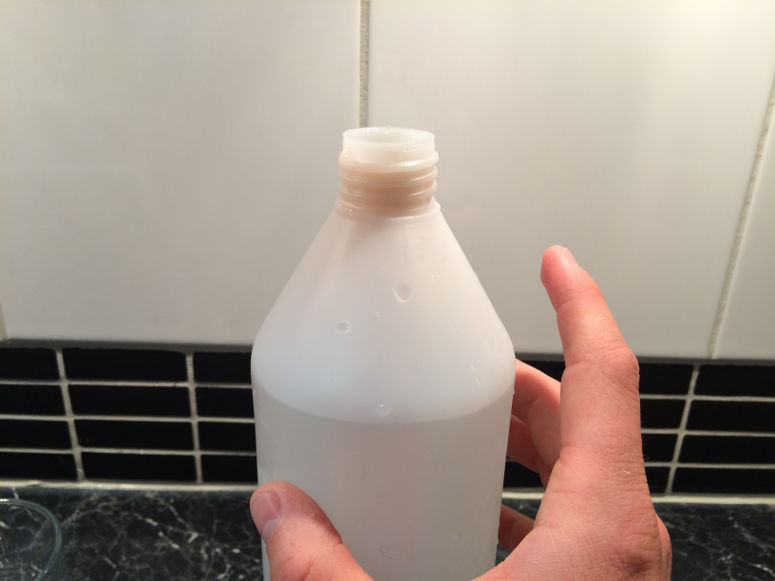
Steg 1

Step 2
Step 3
Step 4
Step 5
Step 6
Step 7
Step 8
Step 9
Step 10

Step 11
Step 12

Short explanation
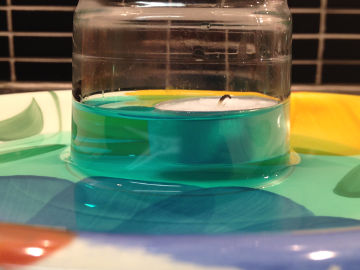
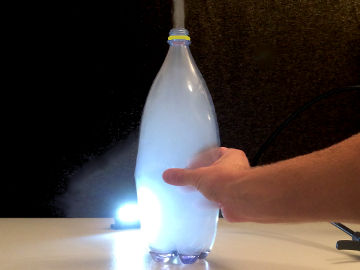
When the bottle is upright, the pipe fills with water. When you turn the bottle over, only the water in the pipe comes out of the bottle. The water in the rest of the bottle cannot be poured because no air can enter the bottle.Long explanation
When the bottle is upright and you don't hold your finger over the hole, the pipe fills with water. This is done by water entering the pipe from below. The pipe is filled to the same level as the bottle - that is, the water surface in the pipe and in the bottle ends up at the same level. This is done with the help of gravity, which pulls the water down as much as possible, and thus ensures that the water surface in both the pipe and the bottle is as low as possible. When you cover the hole - while turning the bottle over - only the water in the pipe comes out. Why is the pipe not refilled with water from the bottle, and more water comes out? Well, this happens to some degree, and the air inside the bottle is "stretched out" to replace the lost water. This means that the air molecules end up further apart. And this in turn means that the air pushes less on the water surface inside the bottle (there will be fewer air molecules that collide - and push - on every square millimeter of the water surface). On the other hand, the air outside the bottle - the one that is now also in the pipe - pushes as much as usual on the water surface in the pipe, and pushes the water back into the bottle so that it cannot come out. Once you have emptied the pipe - put the bottle back without releasing the hole. Now imagine how the air pushes on the water surface, both at the bottom of the pipe and inside the bottle. And the air in the pipe pushes more, which is the reason why the water surface in the bottle is much higher than in the pipe. Now remove your finger from the hole. Now air is forced in through the hole - by the air outside which of course has a higher pressure. The air pressure in the bottle is now as high as outside. Now gravity can work again as it pleases, without any difference in air pressure obstructing, and evens out the level difference in the pipe and the bottle. A practical thing to keep in mind is the gap between the pipe and the bottom of the bottle. It should be small. The disadvantage of this is that it takes time to fill the bottle with water, but the advantage is that almost no water seeps into the pipe if you don't release your finger from the hole.Experiment
You can turn this demonstration into an experiment. This will make it a better science project. To do that, try answering one of the following questions. The answer to the question will be your hypothesis. Then test the hypothesis by doing the experiment.- What happens if you cover the hole all the time?
- What happens if you never cover the hole?
- What happens if you make the hole bigger?
- What happens if you make the gap between the pipe and the bottom of the bottle larger?
- What happens if the pipe doesn't sit tightly against the inside of the bottle opening?
Variations
It is of course possible to do the demonstration with a transparent bottle. It also works with a pipe that is too slim, and doesn't fit tightly against the bottleneck. You can then seal the gap with modeling clay or hot glue. In both cases, it will be difficult to hide to your audience that something is fishy with the bottle, but you can at least try the demonstration.| Gilla: | Dela: | |
Similar


Latest


Content of website
© The Experiment Archive. Fun and easy science experiments for kids and adults. In biology, chemistry, physics, earth science, astronomy, technology, fire, air and water. To do in preschool, school, after school and at home. Also science fair projects and a teacher's guide.
To the top
© The Experiment Archive. Fun and easy science experiments for kids and adults. In biology, chemistry, physics, earth science, astronomy, technology, fire, air and water. To do in preschool, school, after school and at home. Also science fair projects and a teacher's guide.
To the top