
Fun and easy science experiments for kids and adults.
Homemade yogurt
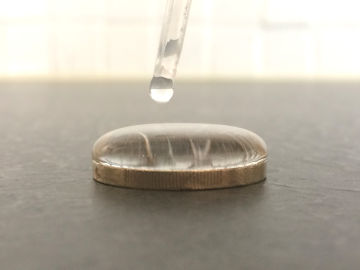
Biology
Make your own yogurt using bacteria. This is an experiment about microbiology.
| Gilla: | Dela: | |
Materials
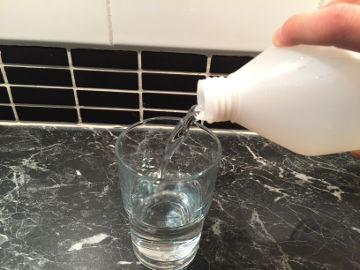
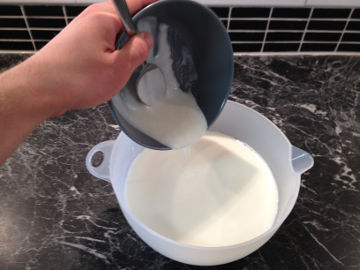
- 2 tablespoons (30 ml) of yogurt with live bacteria
- 1 L (33.8 fl oz) of milk
- 1 thermometer going to 85 °C (185 °F)
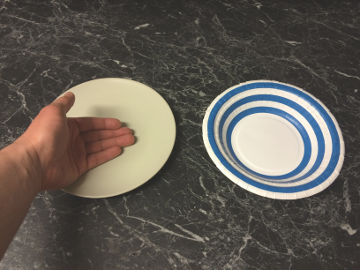
- 1 bowl with lid
- 1 spoon
- 1 tablespoon measuring spoon (15 mL)
- 1 pot
- Cooktop
- Water
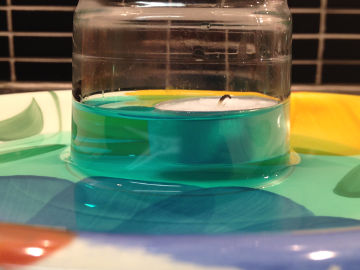
Step 1


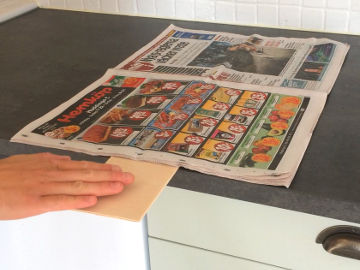
Step 2

Step 3

Step 4

Step 5

Step 6

Short explanation
Yogurt is made by bacteria eating milk. When they do, lactic acid is formed which makes the yogurt sour, as well as creates lumps of protein which make it thick.Long explanation
Yogurt is made from milk by bacteria converting lactose (milk sugar) to lactic acid. This process is called fermentation. The lactic acid lowers the pH of the milk, which affects the proteins in it, which begin to clump together (coagulate). The lactic acid gives the yogurt its sour taste, while the coagulated proteins give the yogurt its creamy consistency. To transform milk into yogurt, it is necessary to add lactic acid-forming bacteria. Yogurt from the grocery store works well here, as most varieties have live bacteria in them. These bacteria are "good bacteria" that, in addition to being able to make yogurt, help your stomach with the metabolism when they end up there. Before adding these bacteria to the milk, however, you need to get rid of some "bad bacteria", namely bacteria that make us feel sick. These bacteria die when the milk is heated to 85 °C (185 °F). This is called pasteurization and has already been done before the milk came to the store, but it's best to do it again if any bacteria have gotten into the milk since then - these multiply quickly when the milk is at room temperature. When the milk has cooled sufficiently after pasteurization, the "good bacteria" are added. These thrive in a reasonably warm temperature, where they multiply rapidly and ferment the milk sugar. If it's too hot they die and if it's too cold the process is slow. Your homemade yogurt will not quite look like the yogurt in the store. This is because your yogurt does not have a lot of additives, such as thickeners. So your yogurt will probably be more runny than the one you bought. It can also get a yellowish or greenish liquid on top. This is whey, which among other things contains useful protein. Mix it in again or throw it away, as you like. If you think your yogurt is a bit boring, you can mix in some fruit or something else that adds flavor. You can store your yogurt in the fridge, where it has a shelf life of 1-2 weeks. You can use your yogurt to make even more yogurt. Take another 2 tablespoons (30 ml) from your yogurt and start the recipe from the beginning!Experiment
You can turn this demonstration into an experiment. This will make it a better science project. To do that, try answering one of the following questions. The answer to the question will be your hypothesis. Then test the hypothesis by doing the experiment.- What kind of milk gives the best results?
- What kind of yogurt gives the best result?
- What will be the result if you use a yogurt with flavor?
- At what temperature does the yogurt thicken the fastest?
Variation
While adding the yogurt to the milk, you can also add 0.5-1 dl (1/4-1/2 cup) of fat-free milk powder. This will make your yogurt thicker and increase its nutritional value.| Gilla: | Dela: | |
Similar


Latest


Content of website
© The Experiment Archive. Fun and easy science experiments for kids and adults. In biology, chemistry, physics, earth science, astronomy, technology, fire, air and water. To do in preschool, school, after school and at home. Also science fair projects and a teacher's guide.
To the top
© The Experiment Archive. Fun and easy science experiments for kids and adults. In biology, chemistry, physics, earth science, astronomy, technology, fire, air and water. To do in preschool, school, after school and at home. Also science fair projects and a teacher's guide.
To the top