Fun and easy science experiments for kids and adults.
Forever boiling bottle
Chemistry
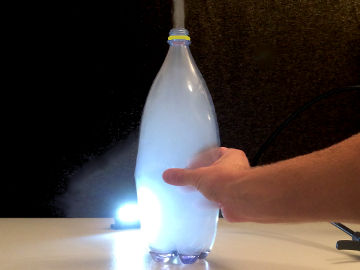
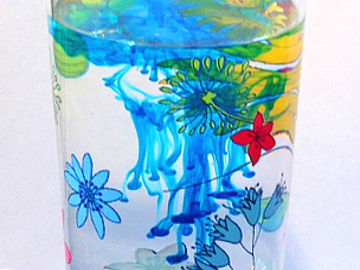
The water that never stops boiling - even at room temperature. This is an experiment about boiling points and pressure.
| Gilla: | Dela: | |
Video
Materials
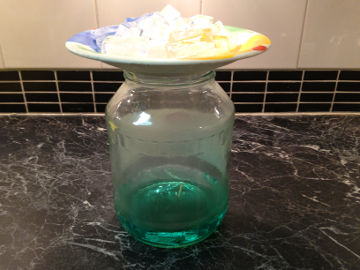
- 1 glass bottle with a cap - a glass bottle with a small opening works best
- Microwave oven
- Water
- Safety equipment: 1 pair of safety goggles, 1 pair of protective gloves
Warning!
These risks exist:- The glass bottle is exposed to temperature and pressure changes, which can cause it to crack. There's a risk of you cutting yourself.
- The glass bottle becomes very hot. There's a risk of burning yourself.
- You work with boiling hot water. Again, there's a risk of burning yourself.
- Sometimes the water superheats in the microwave, i.e. gets hotter than 100 °C (212 °F) without boiling, and then suddenly starts to boil explosively. So again, there's a risk of burning yourself.
- Do the demonstration in the company of an adult.
- Wear safety goggles and protective gloves.
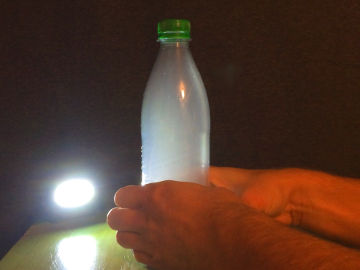
- Always have a firm grip on the bottle and direct its opening away from you, from when you open the door to the microwave until the end.
- Practice what to do if someone cuts or burns themselves.
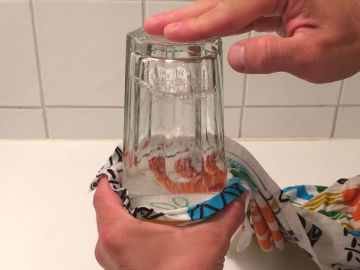
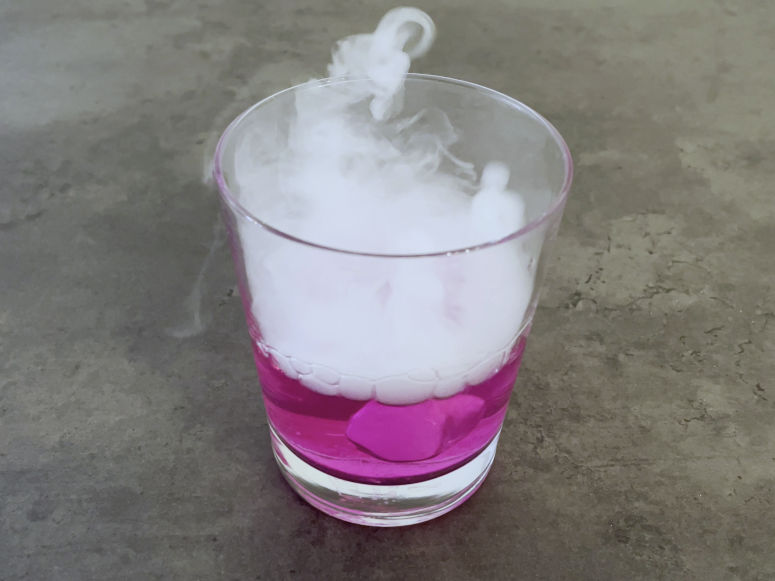
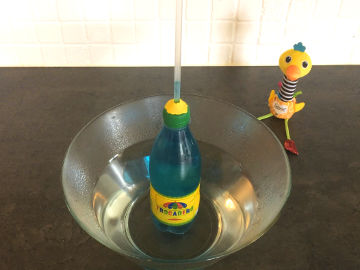
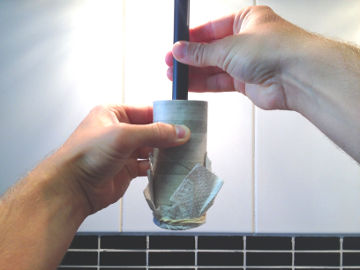
Step 1


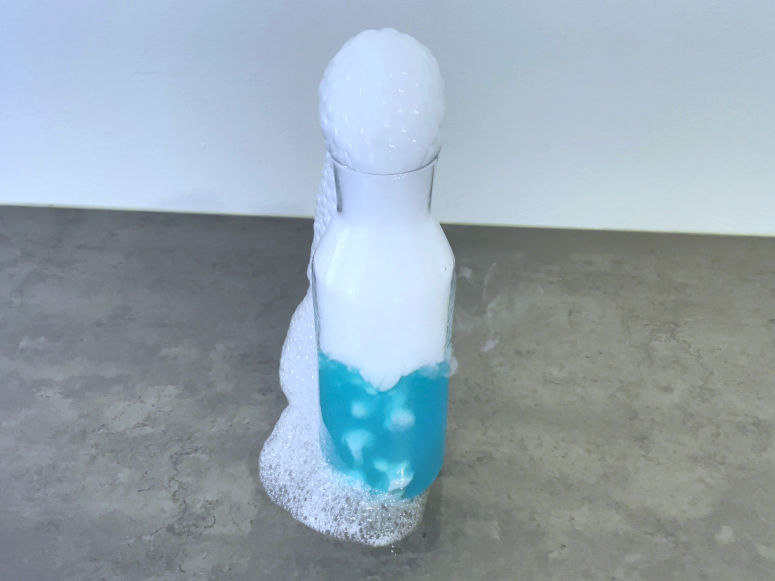
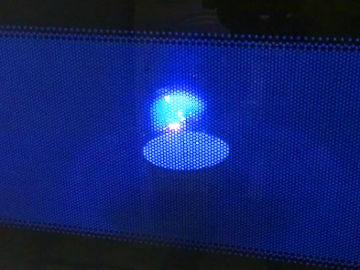
Step 2

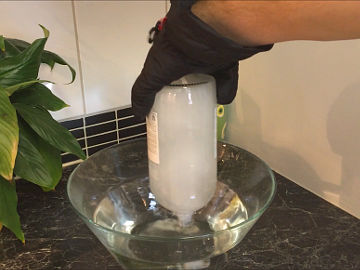
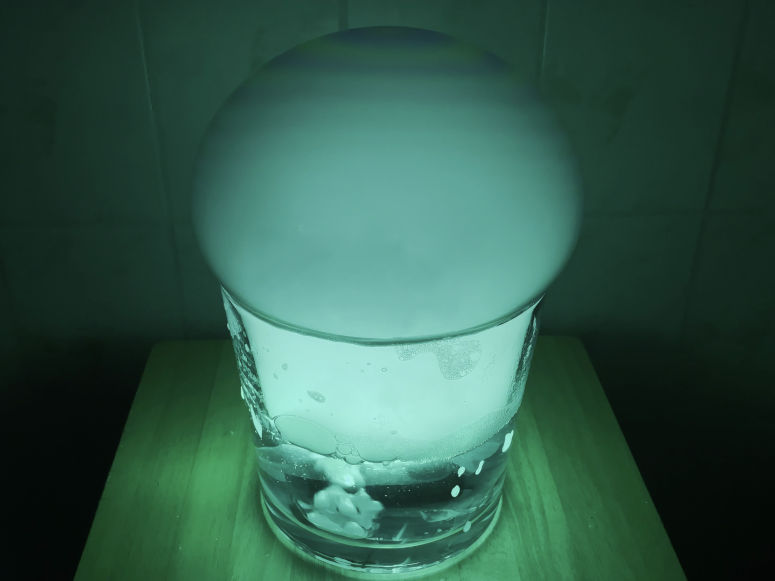
Step 3

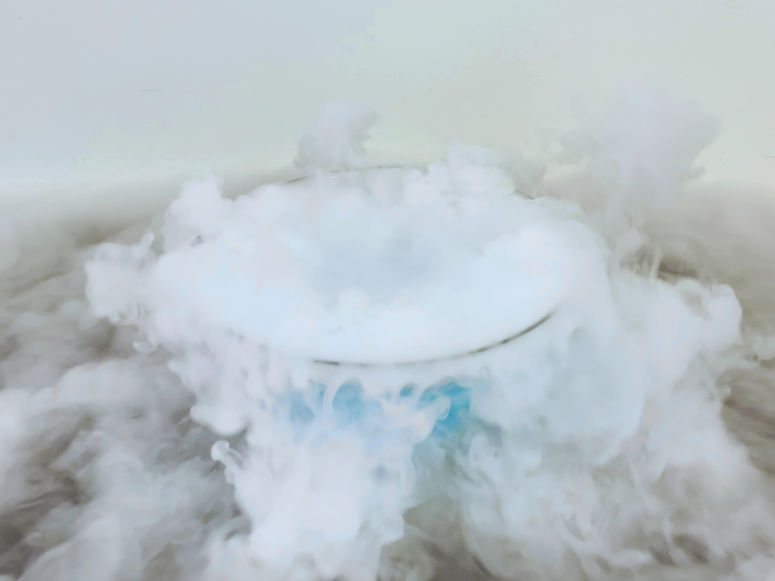
Step 4

Not so short explanation
When the water boils in the microwave, some of the water evaporates. The bottle is filled with transparent water vapor. When the bottle is then placed in room temperature, the water vapor will cool down and contract.Explanation 1: Air is being sucked in
When the water vapor contracts the pressure drops inside the bottle. If your cap is not completely airtight, this negative pressure will cause air to be sucked into the bottle. The bubbles you see are air bubbles coming from the cap. The water is not really boiling. To find out if the bottle is "fake boiling", you can place the bottle right side up. If the water then stops bubbling, it means that the bubbles come from the cap and the water is in fact not boiling.Explanation 2: The water boils
When the water vapor contracts it puts less pressure on the liquid water surface. This decreasing pressure makes it easier for the liquid water to boil - and therefore it continues to boil well below 100 °C (212 °F), which is the normal boiling point for water.Very long explanation
Water and all other liquids can evaporate, i.e. change to a gaseous statez. This can happen in two ways; evaporation and boiling. Evaporation takes place below the boiling point and only at the surface. Boiling takes place at the boiling point and everywhere in the liquid. To really understand everything that happens in this demonstration, we first need to delve into evaporation and boiling, but also a little into dynamic equilibrium and bubbles. Then we return to the explanation.Evaporation
The particles that make up a liquid are always held together by electrical attraction, for example how water molecules are held together by dipole bonds. At the same time, the particles have kinetic energy - that is, they move. Although overall they have a certain average velocity (which the temperature of the liquid is a measure of) some particles move faster and some slower. The particles that are at the surface and also move rapidly in a direction from the surface are those that can evaporate. These particles can tear themselves away from the electrical attractive forces, which at the surface are only on one side of them.Dynamic equilibrium
At the same time as particles evaporate from the surface of the liquid, others will condense again on it, i.e. return to the liquid state. The particles that condense are those that have come close enough to the liquid surface and have low enough speed to be captured by the electric forces. When evaporation and condensation occur at the same rate, dynamic equilibrium is reached. Now the fluid level will remain the same. However, we are used to a glass of water evaporating completely. The reason for this is that the air in the room never gets saturated with water vapor (there is a limit to how much water vapor the air can contain) and it will be few water molecules above the water surface. Also, most of the water molecules there will have too high a temperature to condense. At the same time, evaporation continues, as the air constantly warms the water glass to room temperature, and all the water molecules in it will sooner or later have been at the water surface and had a sufficiently high speed to evaporate.Boiling
The more a liquid is heated, the more kinetic energy the particles will get. This leads to evaporation at the surface going faster and faster. When the liquid reaches the temperature called the boiling point, evaporation also begins to take place inside the liquid. Bubbles of the gaseous state of the chemical substance form and rise to the surface. The liquid boils. A bubble consists of particles that have been given a sufficiently high kinetic energy to push away other particles and form their own void where they can move. Just like a mosh pit at a concert. Have you considered that in order for bubbles to form inside the liquid, the entire liquid above must be lifted? This is why boiling cannot take place until at a certain temperature. The gas in the bubbles must have a high enough pressure not to be crushed by the air (it's usually air) that presses down on the surface of the liquid. The bubbles only have this pressure when the evaporated particles therein are sufficiently numerous and have sufficient kinetic energy, which is just at the boiling point. This is why the boiling point is defined as "the temperature at which the vapor pressure of the liquid is equal to the pressure to which the liquid is exposed from its surroundings". The bubble must also withstand the pressure from all the liquid above it. In an ordinary pot of water, this is not so much. But in the depth of the sea, it is. The boiling point rises with the depth. The boiling point thus decreases with air pressure. At the highest peak in Sweden - Kebnekaise 2,096 m (6,877 ft) - for example, water boils at 93 °C (199 °F), because the air pressure is lower at that altitude.More about bubbles
It is interesting to investigate where bubbles form. When water boils in a pot, they most often form at the bottom of the pot. This is simply because it's warmest there. In addition to were it's warm, bubbles also form most easily on surfaces. Such as on the pot's surface or on microscopic dirt particles in the liquid. These sites are called nucleation sites, because the first seed of a bubble is called the nucleus in Latin. A good nucleation site has a lot of surface (for example of a pot) around it, and not a lot of liquid around it. This means that pits are the very best nucleation sites. The explanation for this is that, the smaller the contact surface between the liquid and the bubble is, the less energy is required to separate and move the water molecules in that contact surface (which are joined together by dipole bonds). Especially good are pits that the water, because of its surface tension, doesn't even get into. Here, water molecules can evaporate and germinate into a bubble in peace and quiet. When the bubbles are large enough, the lift force, which occurs due to the water and the bubbles having different densities, lifts them towards the surface. When you pour a glass of tap water, it's common to see bubbles. These are not bubbles of water vapor, but of air. This can happen because the water in the tap has been under pressure. Pressurized water can contain more air. But when it comes out of the tap, the pressure drops and the air is released. It can also be due to the water being mixed with air in the tap itself, which is a common method to save water. It's also common to see bubbles immediately when you start heating water. These are also air bubbles that are released, as hot water cannot contain as much air as cold. Bubbles of water vapor that form when water boils can disappear again. This happens when they cool down and condense, for example at the surface. Just before a pot of water really starts to boils, it's common for it to begin to vibrate and make popping sounds. These are the first bubbles of water vapor that form at the bottom, but which condense quickly as they encounter colder water. If a bubble of water vapor reaches the surface without popping, the water vapor is released into the air. The water vapor usually condenses there, and becomes small drops of liquid water that we see as smoke.The explanation
And so, with the help of the theoretical background above, we can now explain the demonstration on a deeper level. When the bottle is in the microwave oven, the water is heated by adding kinetic energy to the water molecules (from microwaves that hit them). More and more water molecules get so much kinetic energy that they tear away from the liquid water and become water vapor. At 100 °C (212 °F), water molecules have so much kinetic energy that bubbles of water vapor can form in the water mass. The water is boiling. Lots of water vapor is formed and it pushes the air out of the bottle. We can now feel confident that the bottle is filled with water vapor. Time to put the cap on. When you put the cap on, you have a bottle containing liquid water and water vapor. The water vapor pushes on the surface, just as the air otherwise does. At room temperature, the bottle is cooled. The water molecules that make up the water vapor slow down. The pressure they put on the water surface now decreases. Now one of two things can happen. Either air is sucked into the bottle or the water boils.Explanation 1: Air is being sucked in
Most common is that the cap is not airtight and air is sucked into the bottle. To be correct, the air is not really "sucked in", it's pushed in. Imagine the air around you. It consists of lots of air molecules (oxygen and nitrogen molecules mainly) that are pulled near Earth's surface by gravity. They now have a lot of pressure on them, by the other air molecules in the atmosphere above, which are also being pulled towards Earth's surface by gravity. This makes the air at Earth's surface an invisible frenzy of air molecules that are pushed here and there - to wherever there is room. And now there is room inside the bottle, or more specifically, a place that doesn't push back. And there are small spaces at the cap where the air can get through. It may seem strange that the cap doesn't seal properly. It is, after all, supposed to do just that. However, when there's such a large pressure difference as in this demonstration, it cannot prevent air from being forced into small, small gaps. In addition, air molecules are much harder to stop than water molecules, because they come one by one. Water molecules, on the other hand, tend to stay together in groups due to the dipole bonds between them. The influx of air will probably stop before the pressure inside and outside the bottle is the same. This is because the gaps at the cap are small enough to stop the influx when the pressure difference is not so great. However, you can keep "fake boiling" by unscrewing the cap a little.Explanation 2: The water boils
The other thing that can happen is that the water is boiling for real. When the pressure on the liquid water decreases, the water molecules that make up the liquid water can more easily form bubbles. They now don't need as much kinetic energy to push away and lift the water. The boiling point has decreased. The boiling point continues to decrease while the bottle cools down - and thus the water continues to boil. When the water boils, new water vapor is formed which join to the already existing water vapor. The temperature is distributed between them and they continue to cool down together. Finally, the water vapor has cooled down to room temperature. Now its pressure on the liquid water no longer decreases. The liquid water stops boiling. Now there is finally a dynamic equilibrium in the bottle. At this point, at room temperature (20 °C or 68 °F), the water vapor has a pressure of 0.023 atmosphere. This means that the pressure in the bottle is now only 2.3 % of what it normally is in the atmosphere. So while the bottle has cooled, the temperature of the water vapor (and the liquid water) has dropped from 100 °C (212 °F) to 20 °C (68 °F) and the pressure has dropped from 1 atmosphere to 0.023 atmosphere. Pretty amazing. One thing that may seem strange is how the water level does not seem to change. All the time, water molecules have left the liquid water and become water vapor, and thus the water level should have decreased. In fact, it has, but so little it's barely visible. It takes an incredibly small amount of liquid water to form a large amount of water vapor. When liquid water turns into water vapor, it expands on the order of 1 000 times. Another thing that may seem strange is how many more bubbles of water vapor that can join the water vapor. How does all the water vapor fit? This is no problem, because since the water vapor cools down all the time, it also decreases in volume. This volume change can also be in the order of 1 000 times. If you've come this far, you can actually continue the demonstration. Place the bottle upside down and unscrew the cap just slightly. You will now see how air begins to seep in, in accordance with explanation 1. You can now fake boil the bottle for a long time, until the pressure in the bottle is back up to 1 atmosphere again.Practical tips
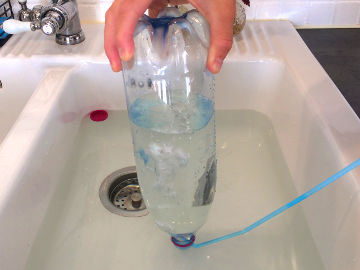
A key to success of this demonstration is that the water vapor doesn't escape from the bottle before you cap it. Therefore, you should be quick with it. For the same reason, choose a bottle with a small opening. The shape of the bottle probably also plays a role, where some bottles retain the water vapor better. The most important thing is of course to find a cap that is airtight, even under large pressure differences. Otherwise, you have to settle for fake boiling - although that's also pretty cool. However, if your cap isn't airtight and you are fake boiling, you can maybe get to real boiling! You do this by cooling down the bottle quickly, faster than air can seep through the gaps at the cap. Now the water has to boil. One method is to place an ice cube on the bottom of the bottle. Another method is to put the bottle in the sink and pour cold water on it. Then get ready for violent boiling! But also pay extra attention to the risk of the bottle cracking.


Experiment
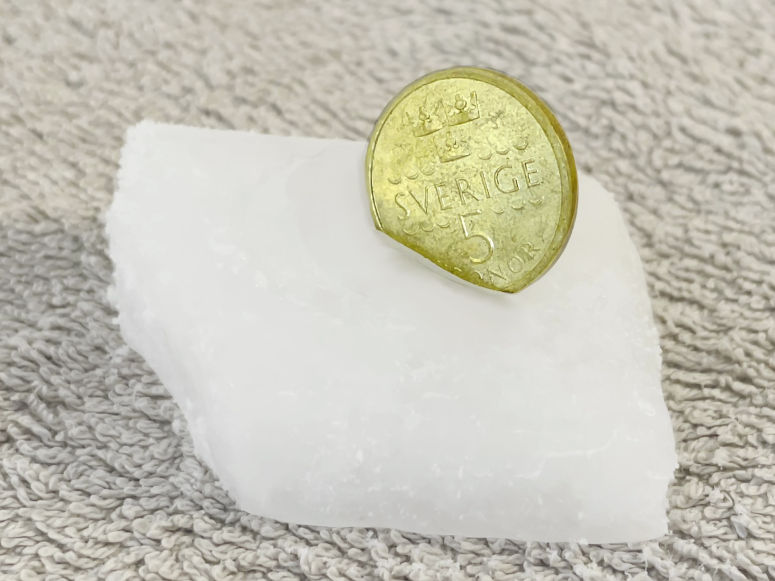
You can turn this demonstration into an experiment. This will make it a better science project. To do that, try answering one of the following questions. The answer to the question will be your hypothesis. Then test the hypothesis by doing the experiment.- What happens if you put an ice cube on the bottom of the bottle?
- What happens if you put the bottle in the sink and pour cold water on it? Pay extra attention to the risk that the bottle may crack!
- What happens if you don't turn the bottle upside down?
- What happens if you add some dirt floating in the bottle?
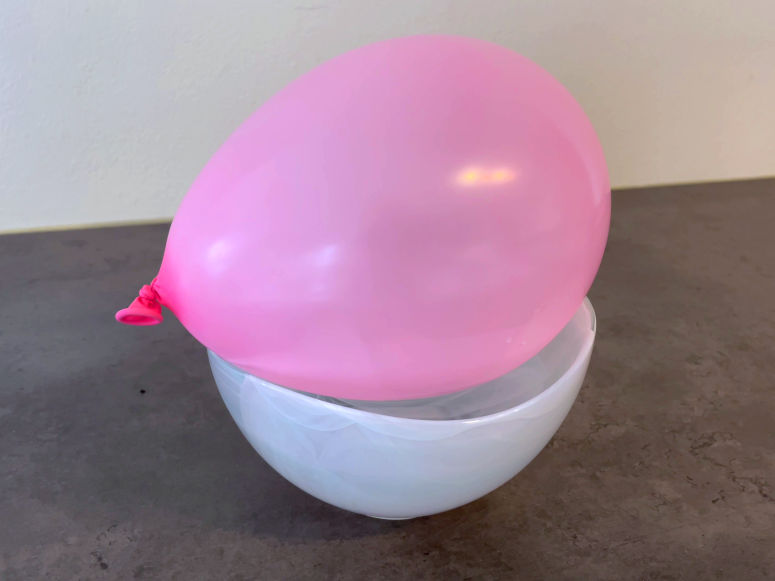
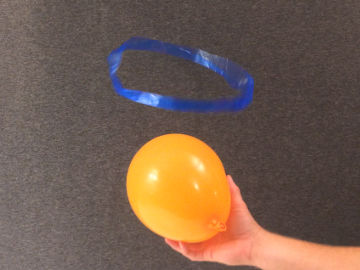
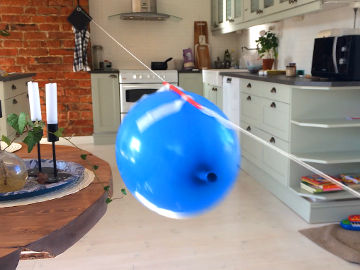
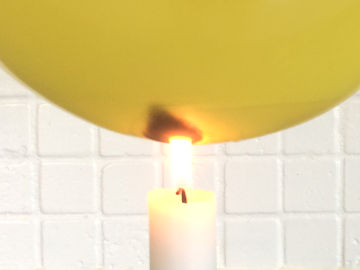
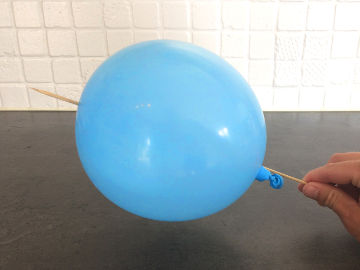
- Let a balloon, inflated to the size of a ping-pong ball, float inside the bottle. What happens to it?
- What happens if you use half as much water?
- What happens if, when you open the microwave door, wait half a minute before putting on the cap?
- What happens if you use milk instead?
| Gilla: | Dela: | |
Similar


Latest


Content of website
© The Experiment Archive. Fun and easy science experiments for kids and adults. In biology, chemistry, physics, earth science, astronomy, technology, fire, air and water. To do in preschool, school, after school and at home. Also science fair projects and a teacher's guide.
To the top
© The Experiment Archive. Fun and easy science experiments for kids and adults. In biology, chemistry, physics, earth science, astronomy, technology, fire, air and water. To do in preschool, school, after school and at home. Also science fair projects and a teacher's guide.
To the top